

Creator Guide
Getting Set Up to Work with Clippers
You’re listed in the Clipkick Clipping Exchange – the world’s first marketplace to combine a creator-clipper directory, a built-in recurring revenue monetization layer, and secure rights-managed content vaults. Before a clipper can start creating and sharing clips on your behalf, here’s what to set up on your end.
Create Your Listing
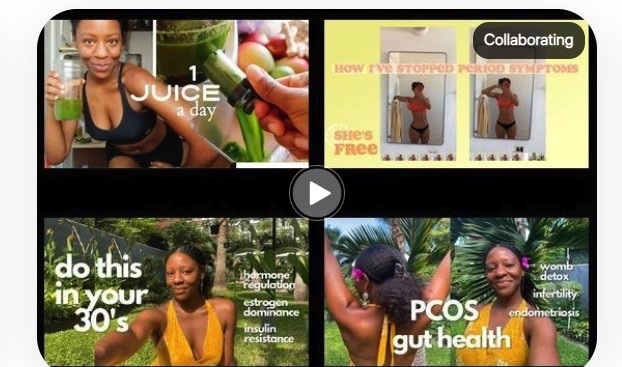
Your listing is how clippers find you in the Clipping Exchange. Think of it as your storefront in the marketplace – it’s the first thing a clipper sees when they discover you, and it’s what determines whether they connect with you or keep scrolling.
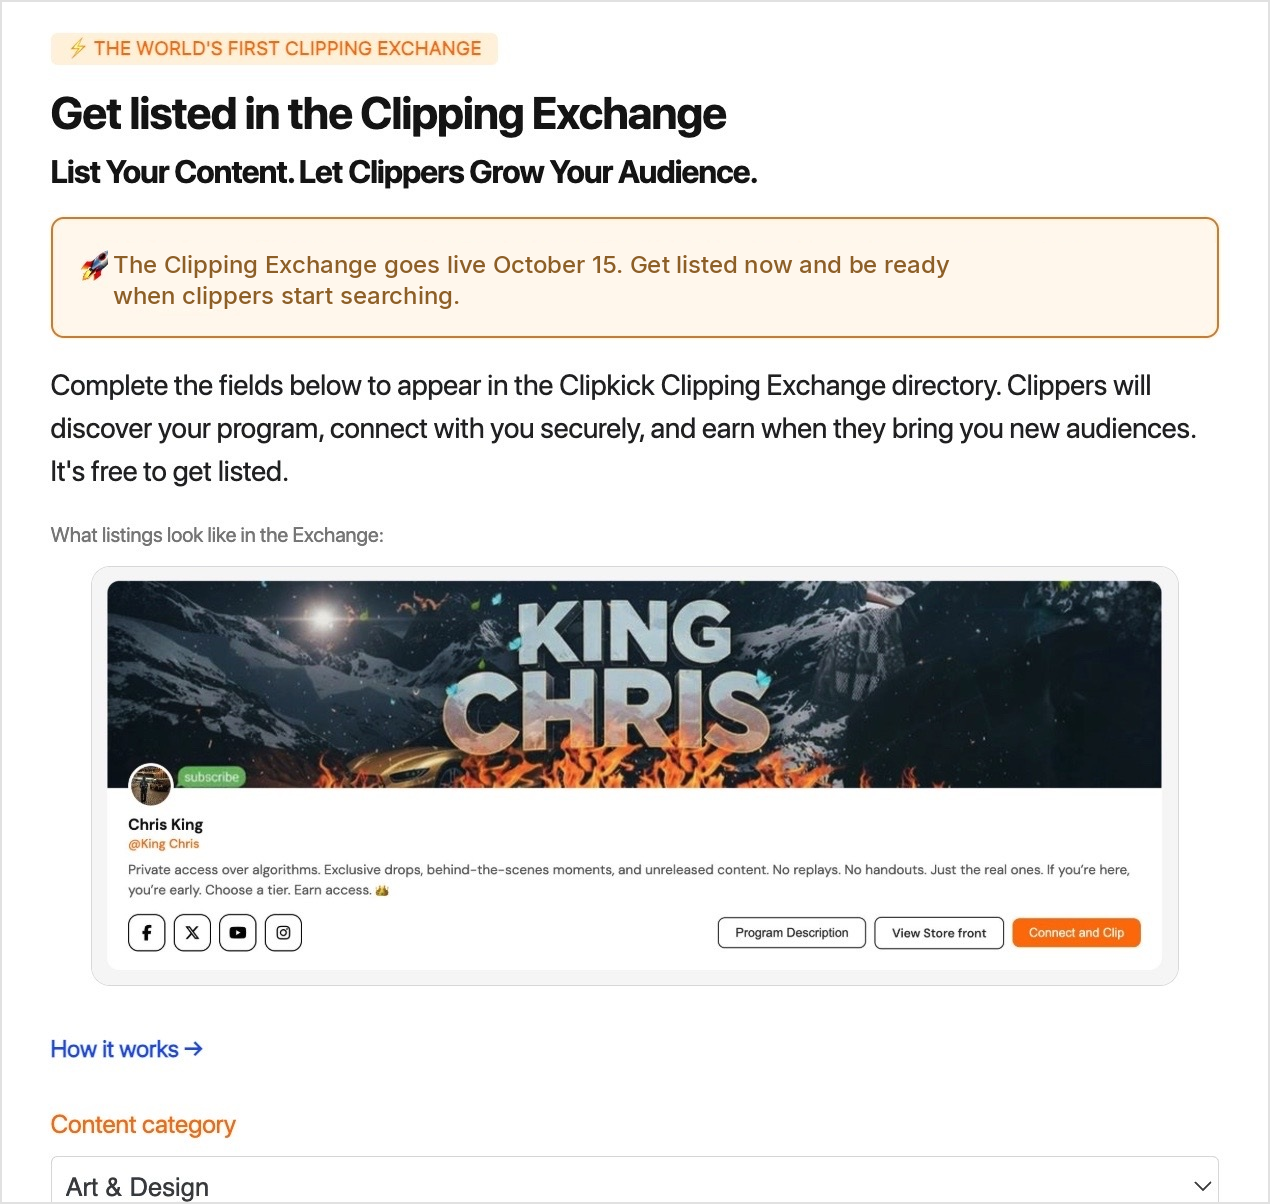
A strong listing includes:
- A profile photo that represents you as a creator
- A cover image that reflects your content
- A short profile description that tells clippers who you are at a glance
- A program description that explains your niche, what you create, and why clippers should work with you
- At least one social link so clippers can verify your audience and content
- Your compensation terms – revenue share, external affiliate link, CPM, or flat fee arrangement
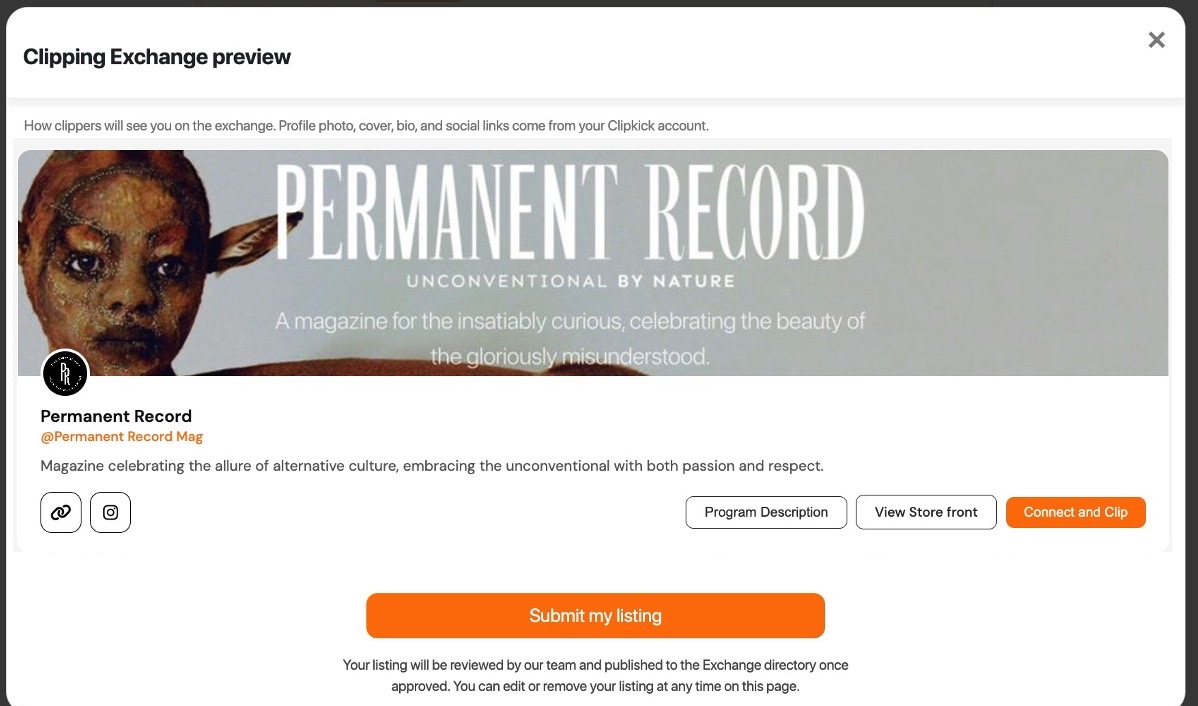
Your profile photo, cover image, profile description, and social links are managed from your Clipkick profile. Your program description and compensation terms are set directly in your Exchange listing.
Preview and submit
Preview how your listing will appear to clippers, then submit it for review. Your listing will be reviewed by the Clipkick team and published to the Exchange directory once approved. While you wait, build out your Lineups and add your content (step 02 and step 03).
Create Your Lineup Vaults
Lineups are media playlists you create with your own content and links to any media on the web. For the Clipping Exchange, your Lineups serve as secure content vaults – the media your clippers will access, download, and clip from.
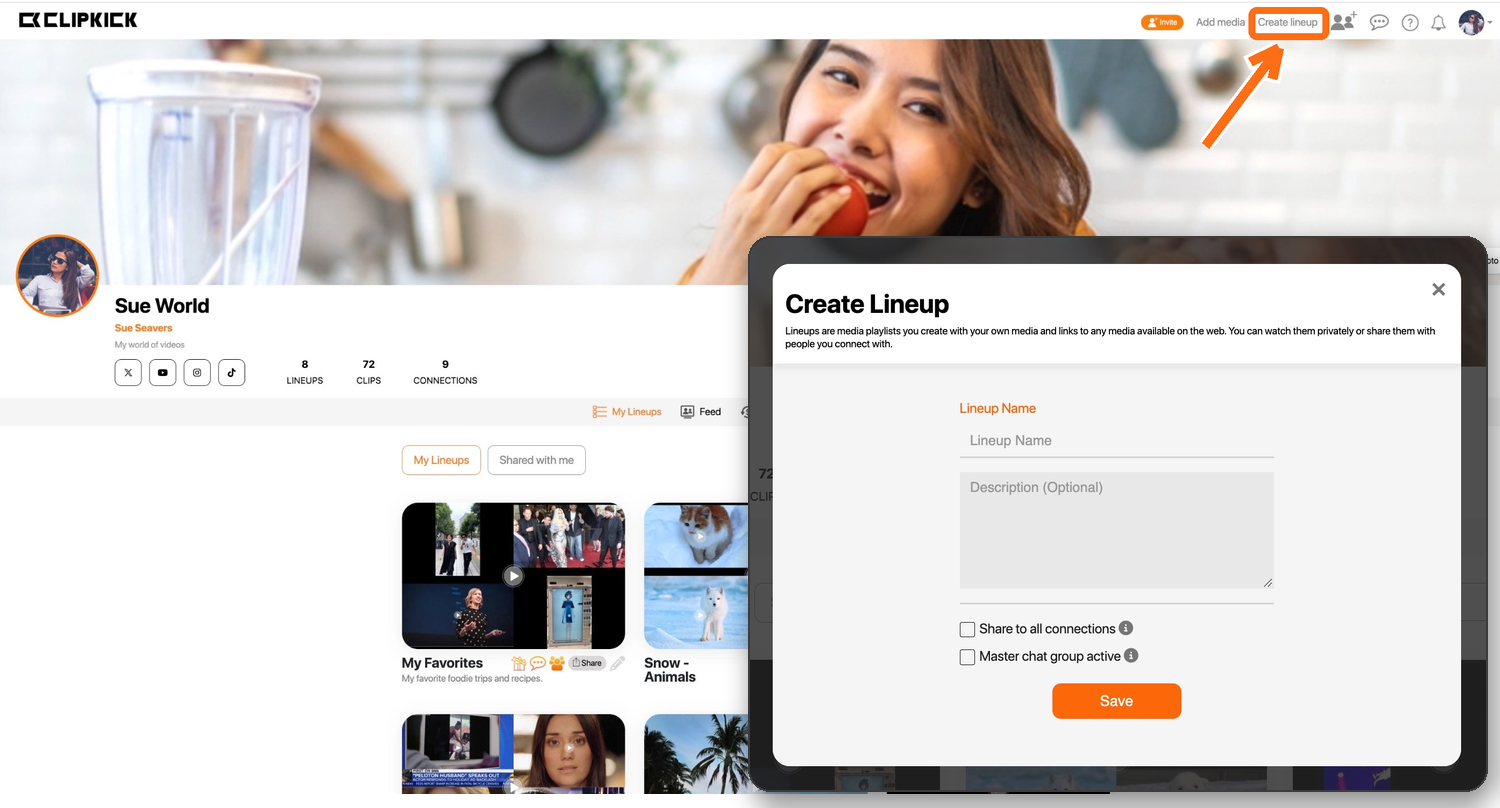
We recommend creating at least two Lineups:
Long-form Lineup – full-length videos, podcasts, or other longer content that clippers can pull clips from.
Short-form Lineup – highlight moments, key quotes, or pre-selected clips you want clippers to focus on.
You can add media while creating a Lineup or add it later. Once your Lineups are ready, you’ll share them with your connected clippers.
Add & Save Content to Your Lineups
You can add media to Clipkick three ways: upload files directly, save a link to media on the web, or save media while browsing with the Clipkick Chrome extension. All three land in the Lineups you created for your clippers.
Adding Media
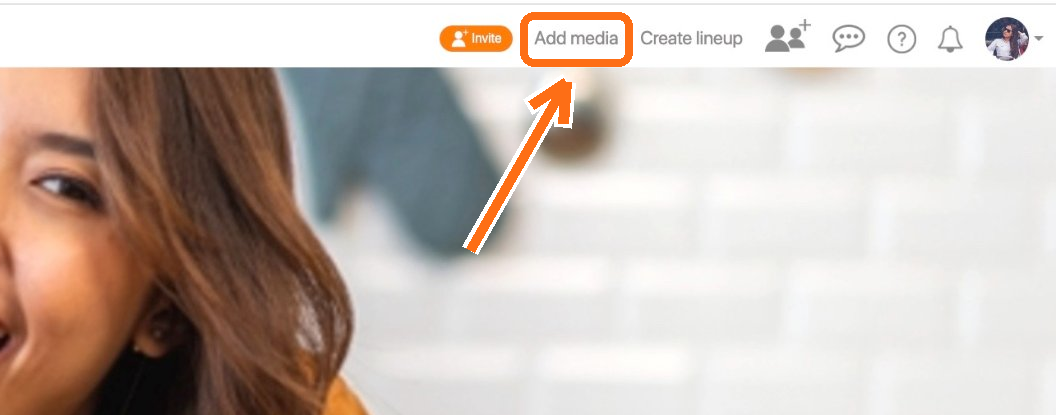
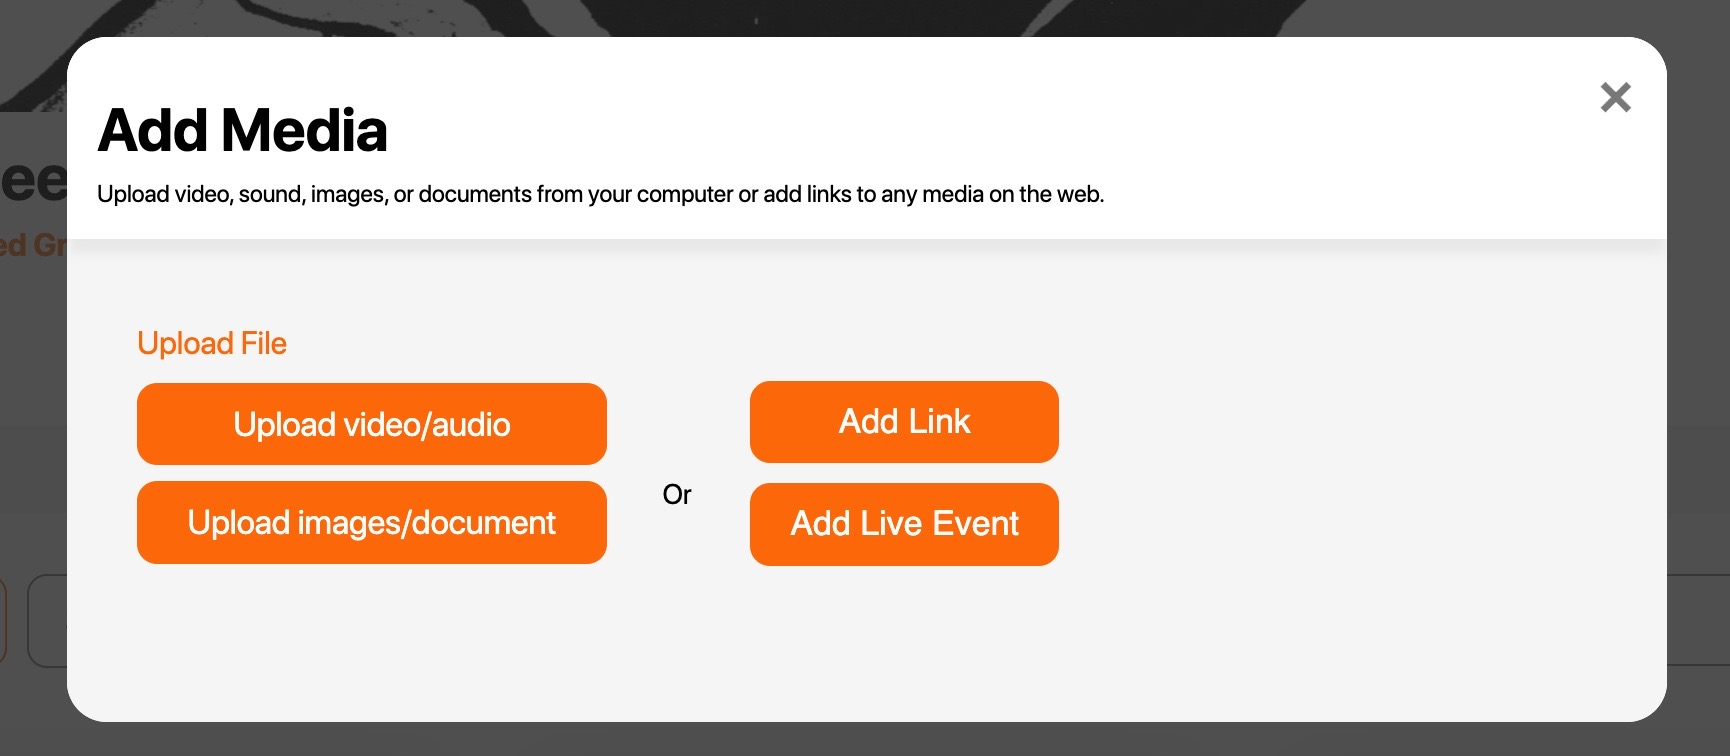
Click Add Media at the top of the screen, choose video/audio or images/document, then select the file from your device. Save it to the appropriate Lineup.
Saving Media Links
Click Add Media, then paste a link to any media on the web into the text box. Save it to any Lineup the same way as an upload.
Browser Extension
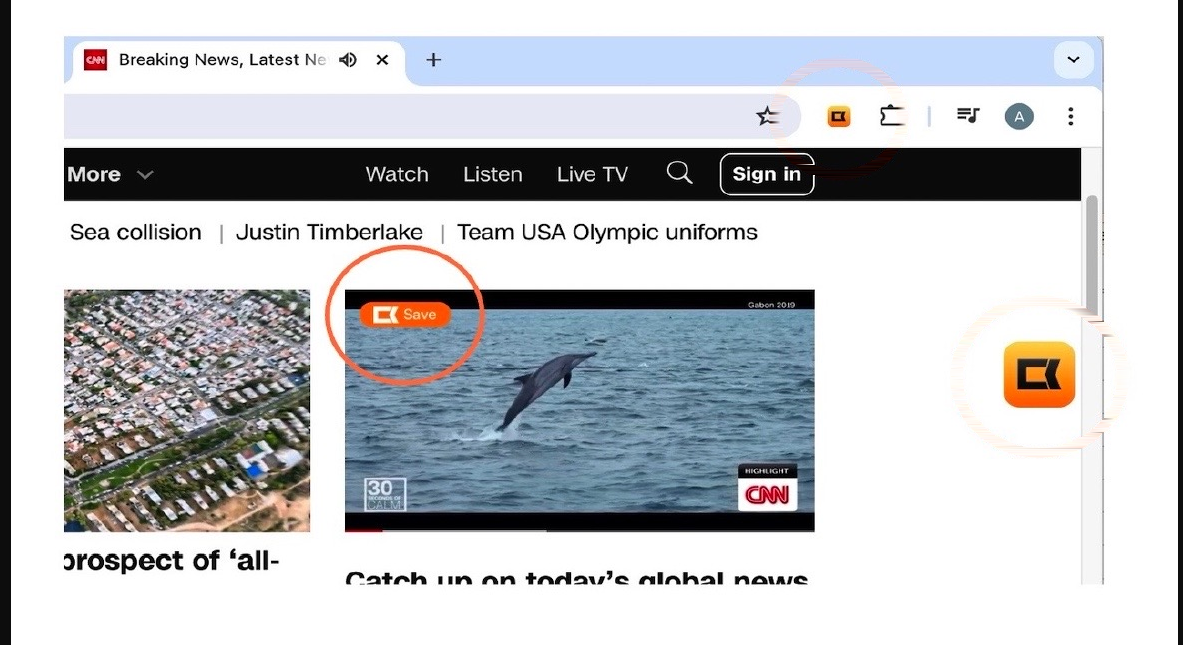
Install the Clipkick Chrome extension and pin it to your toolbar. Hover over any video or image while browsing and click Save to send it straight to a Lineup.
Work With Clippers
Once you’re listed, clippers can find you in the Exchange and request to connect. Here’s what happens from there.
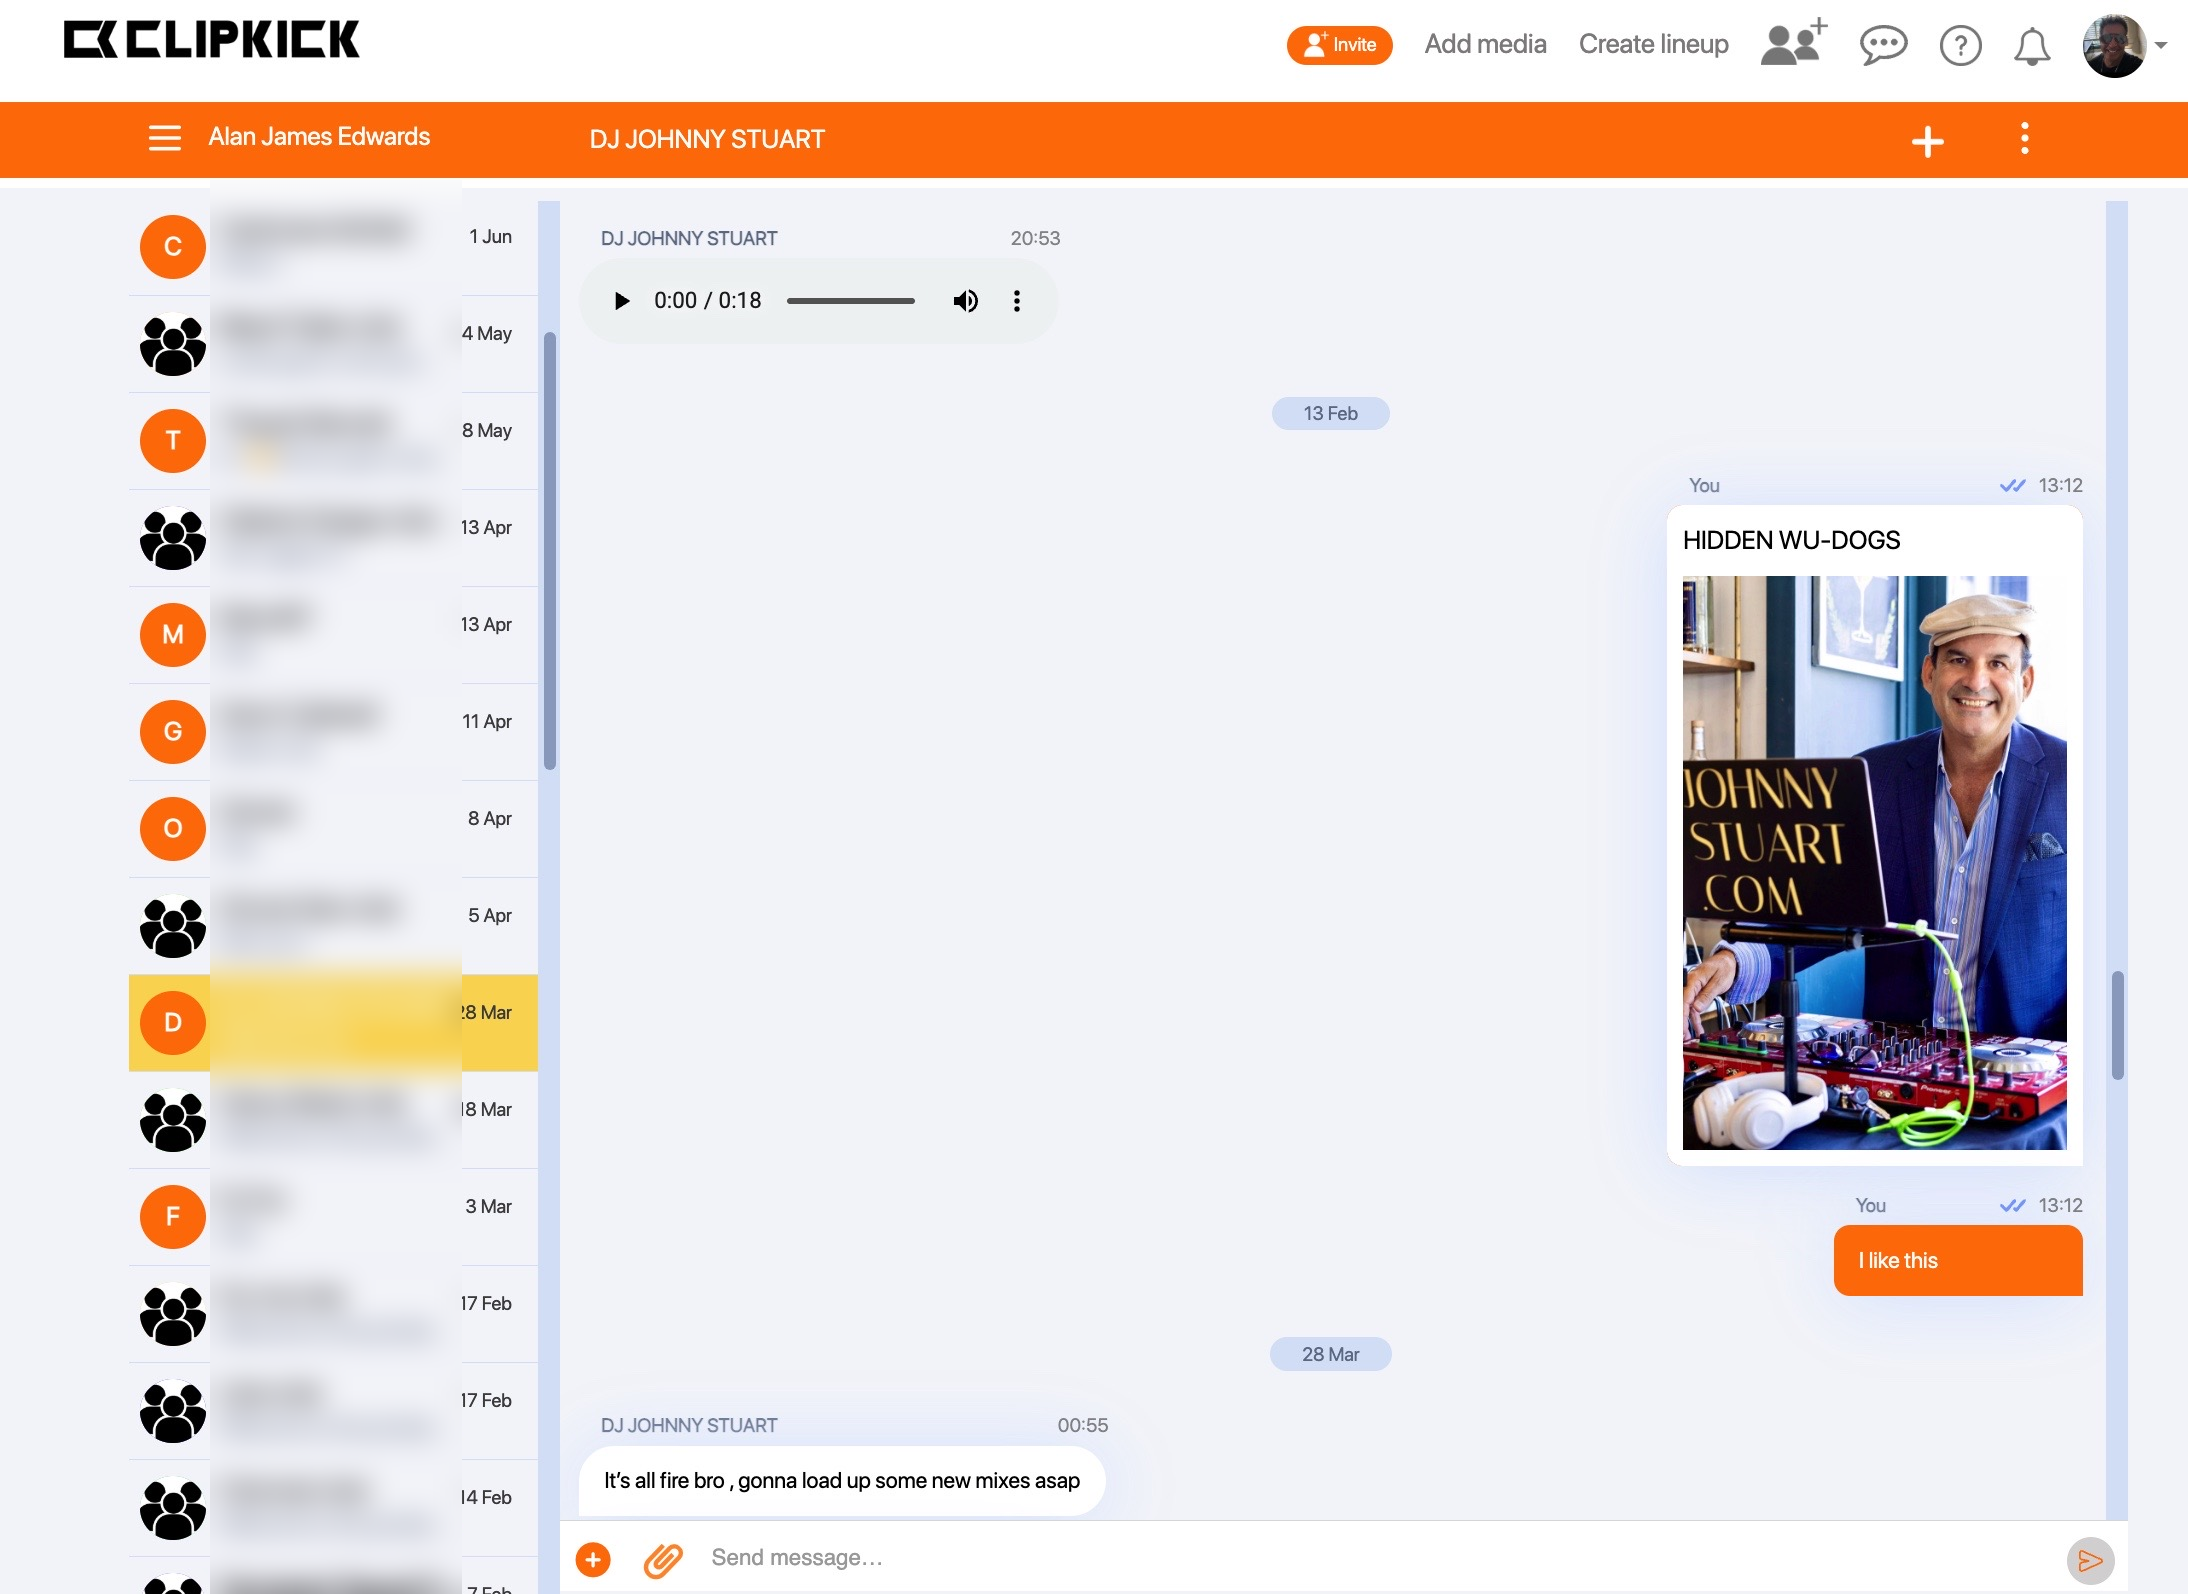
When a clipper finds you in the Exchange, they’ll send a connection request. You’ll get a connection notification in the app.
Once you accept, you can securely chat with the clipper directly to discuss terms and agree on the program. Share your Lineup vaults with them (step 05), then set them up to earn on referrals: activate them as an affiliate directly if you’re on a Clipkick storefront, or set them up on your external platform and send their affiliate link through Clipkick chat (step 06).
Share Your Content Lineup Vaults
Now that you’re connected with a clipper, share your Lineup with them directly. Only people you share your content with can see it, so you stay in control of access.
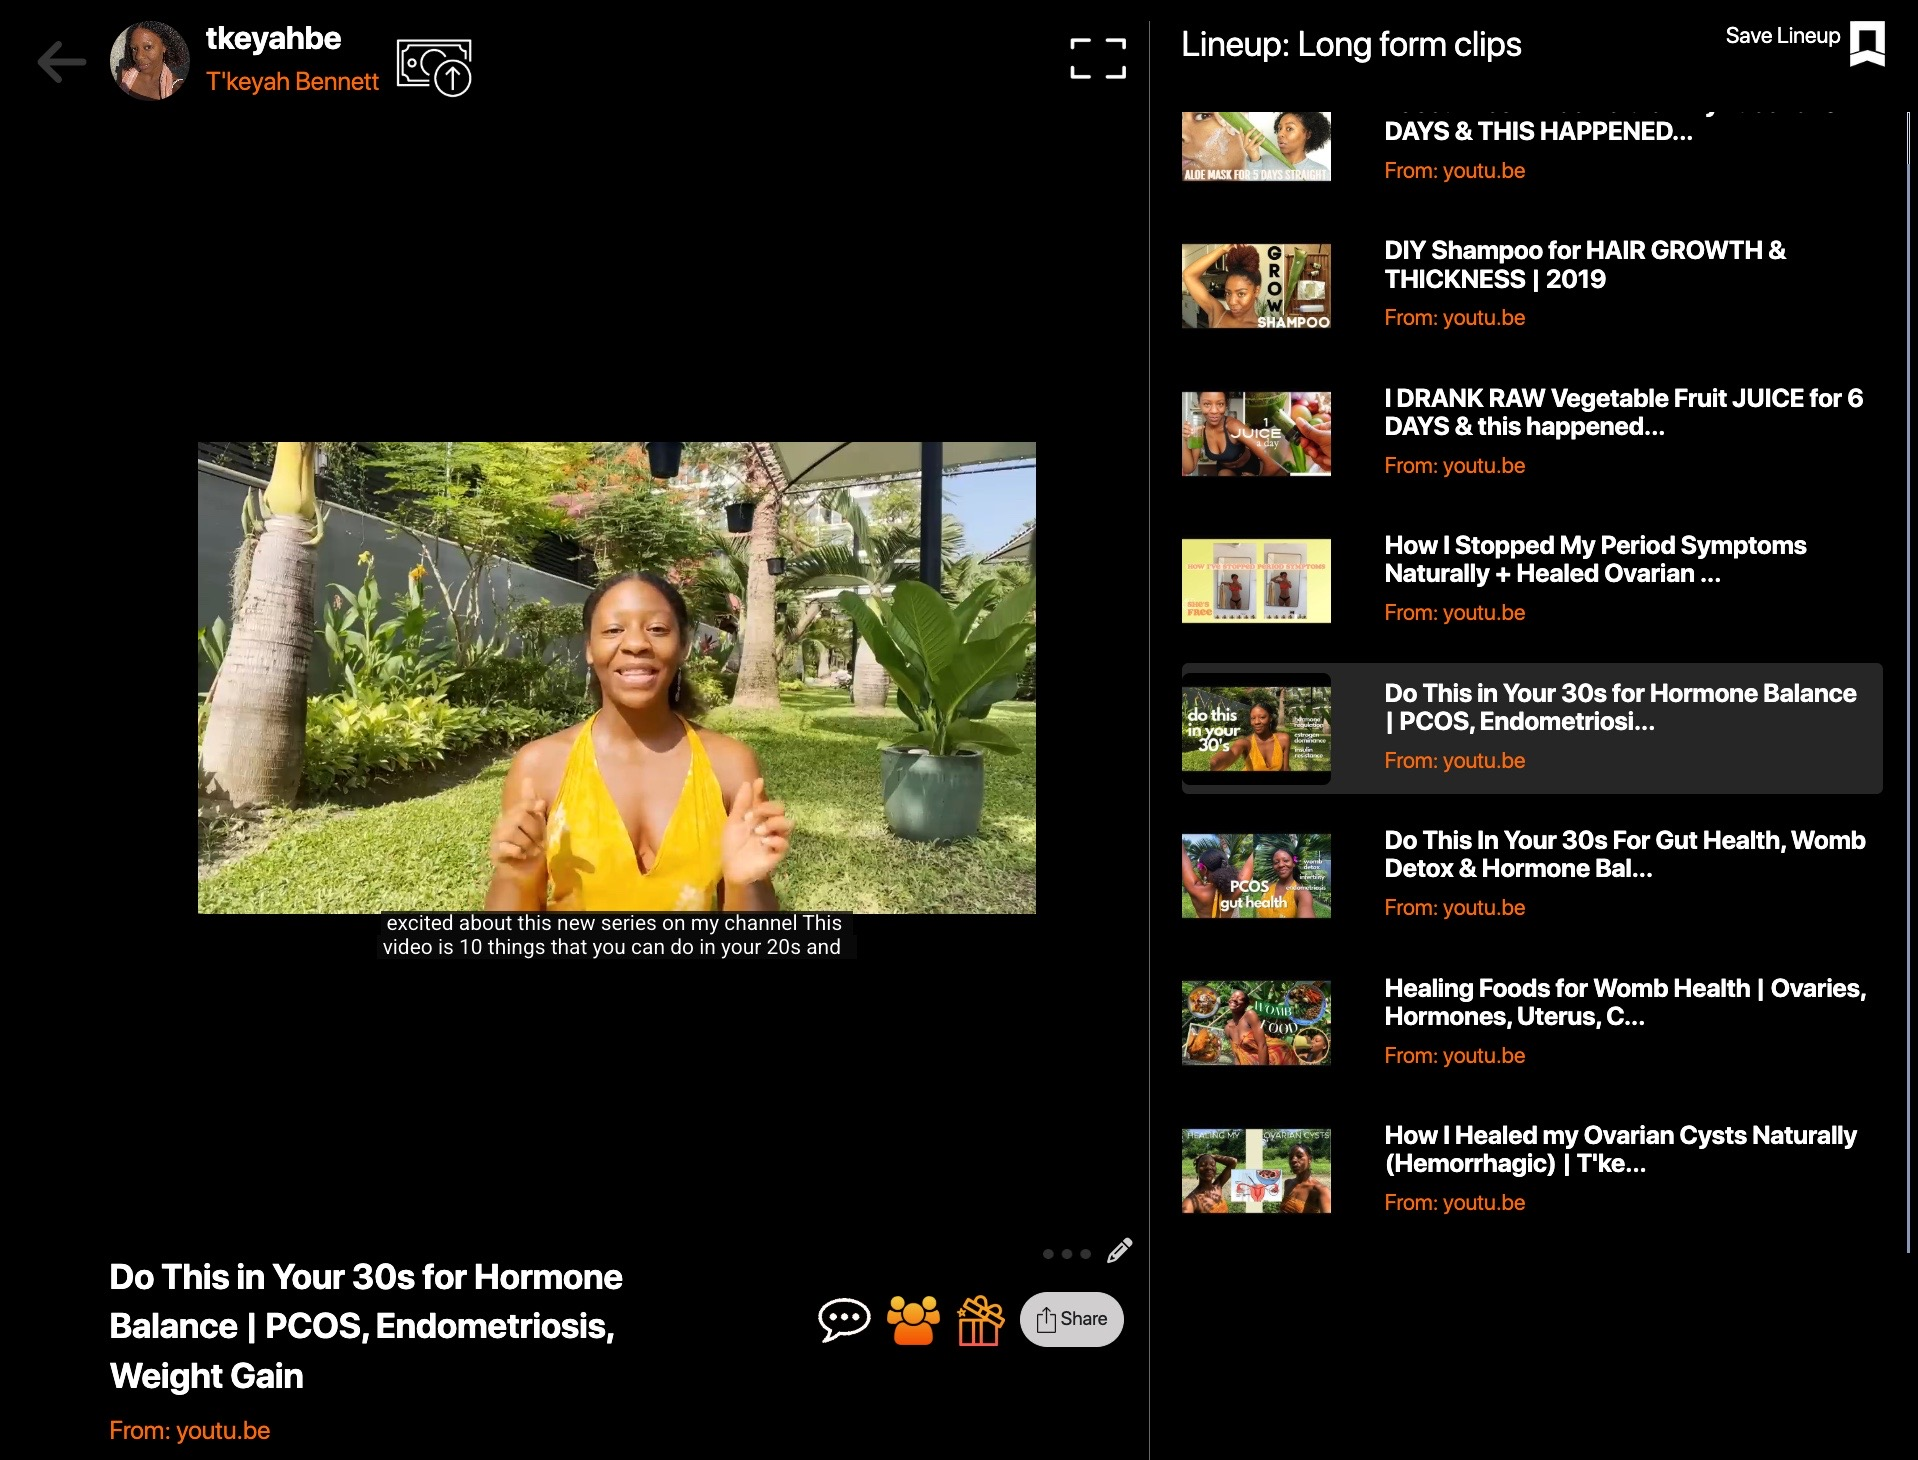
Share the Lineup
Find the Lineup you want to share and click the Share button. Select the clipper from your connections and share the Lineup with Allow saving and download enabled.
FOR CLIPPERS
Allow saving and download gives the clipper access to the original media files they need to create clips. Every time you add new content to a shared Lineup, the clippers you shared it with receive a notification.
You can also use the Open, People, and Chat controls to see activity and communicate privately.
Set Up Your Affiliate Link for the Clipper
Once you’ve shared your Lineup, set up an affiliate link for this clipper so they earn on the subscribers they bring you. If you use an external platform such as Skool or Kajabi, create the link there and send it securely through Clipkick chat. If you use the Clipkick Paywall, manage the affiliate directly inside Clipkick.
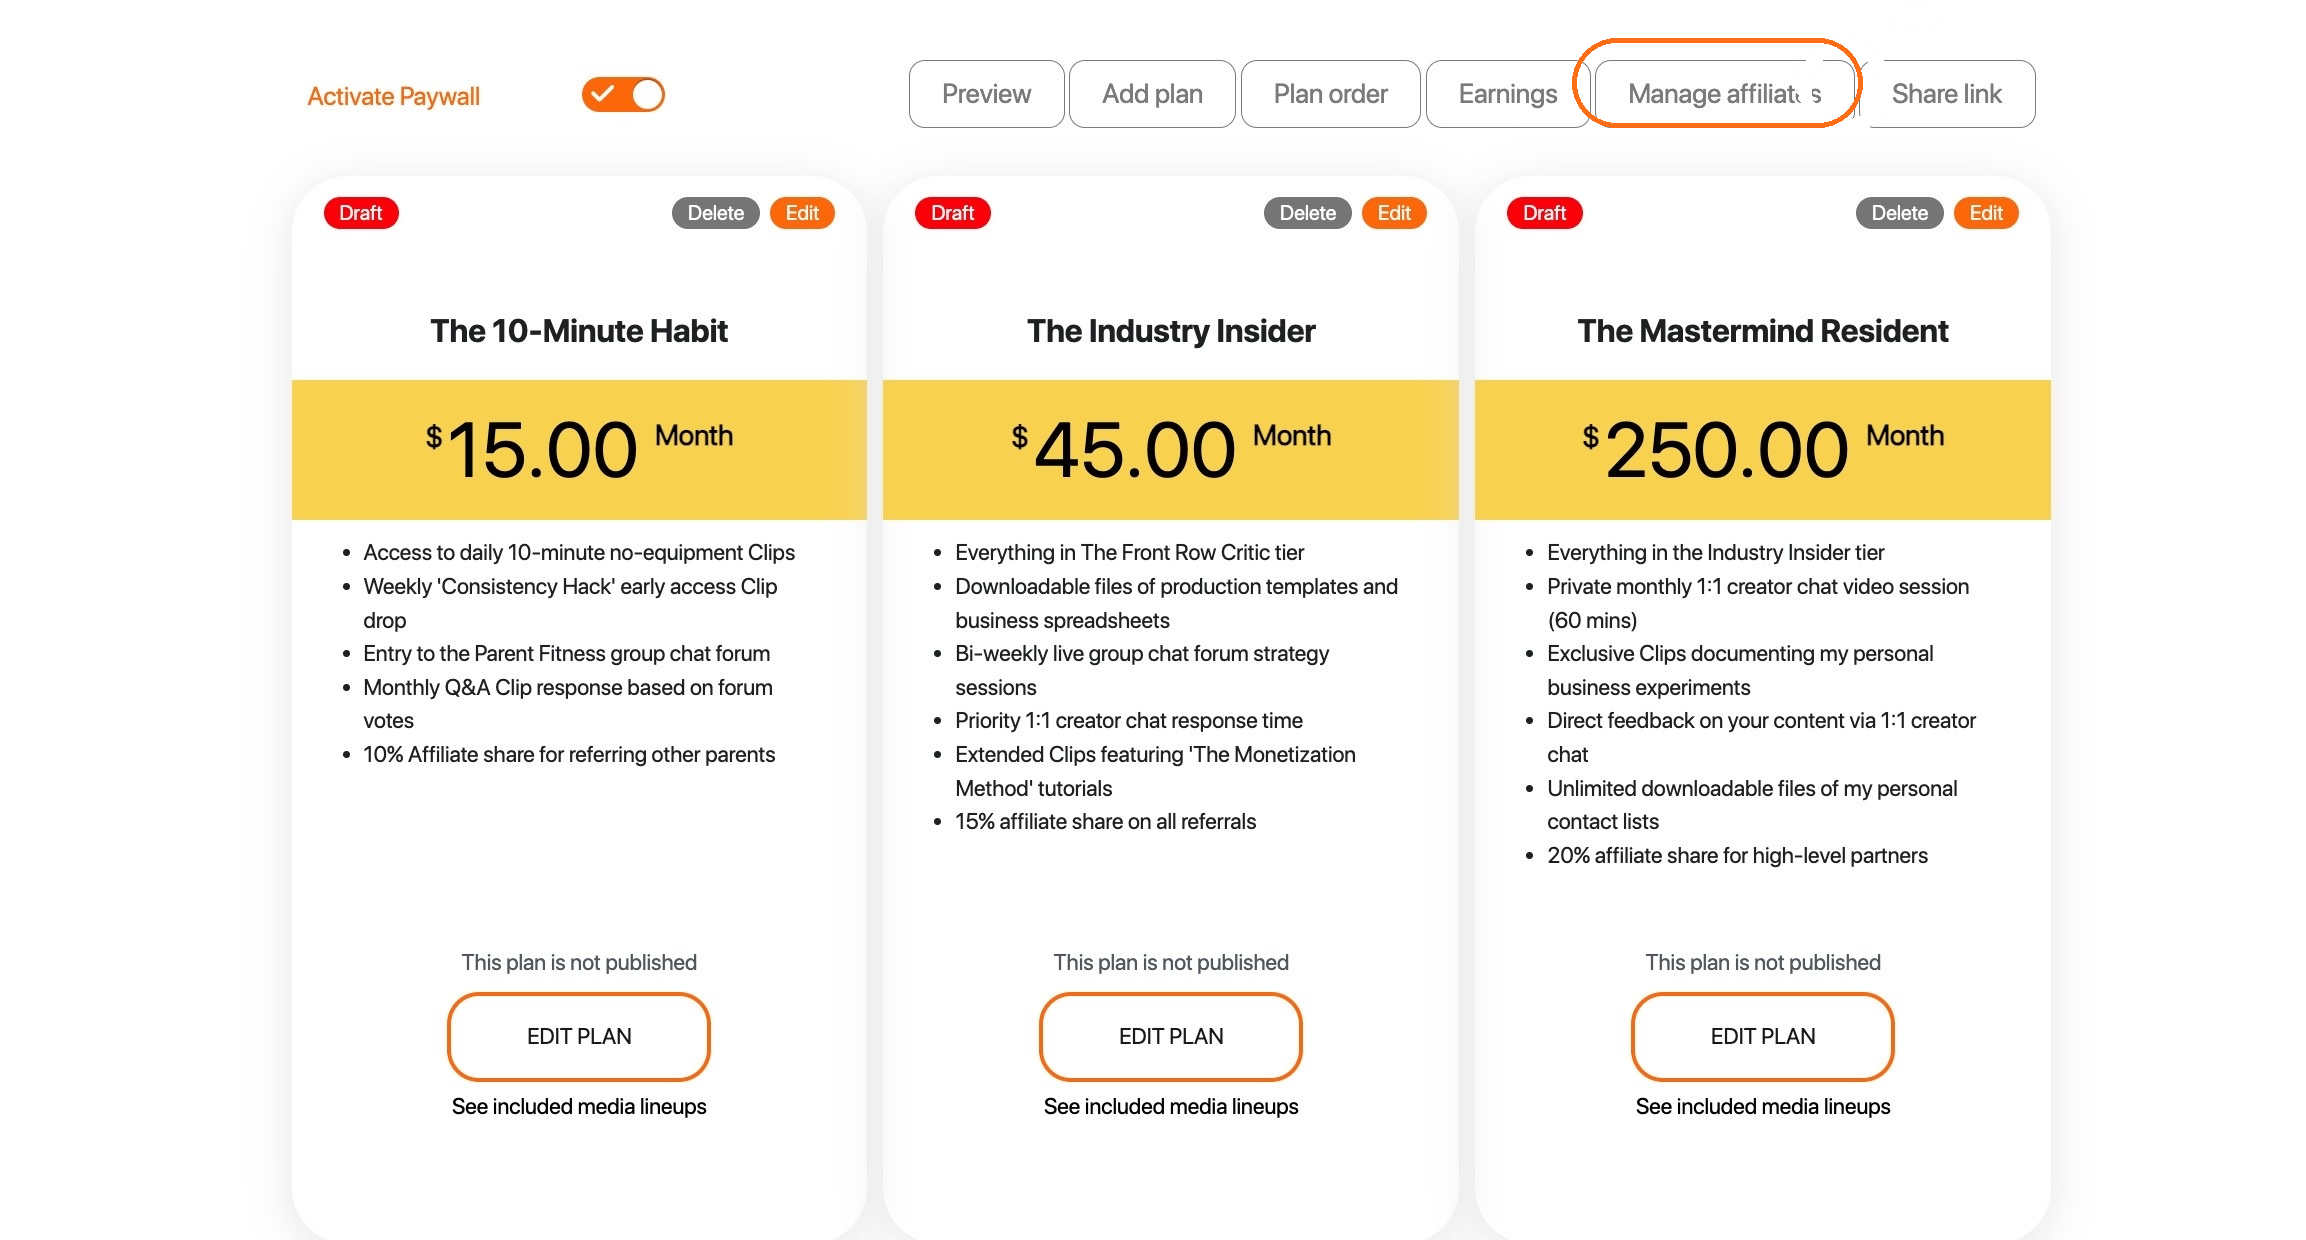
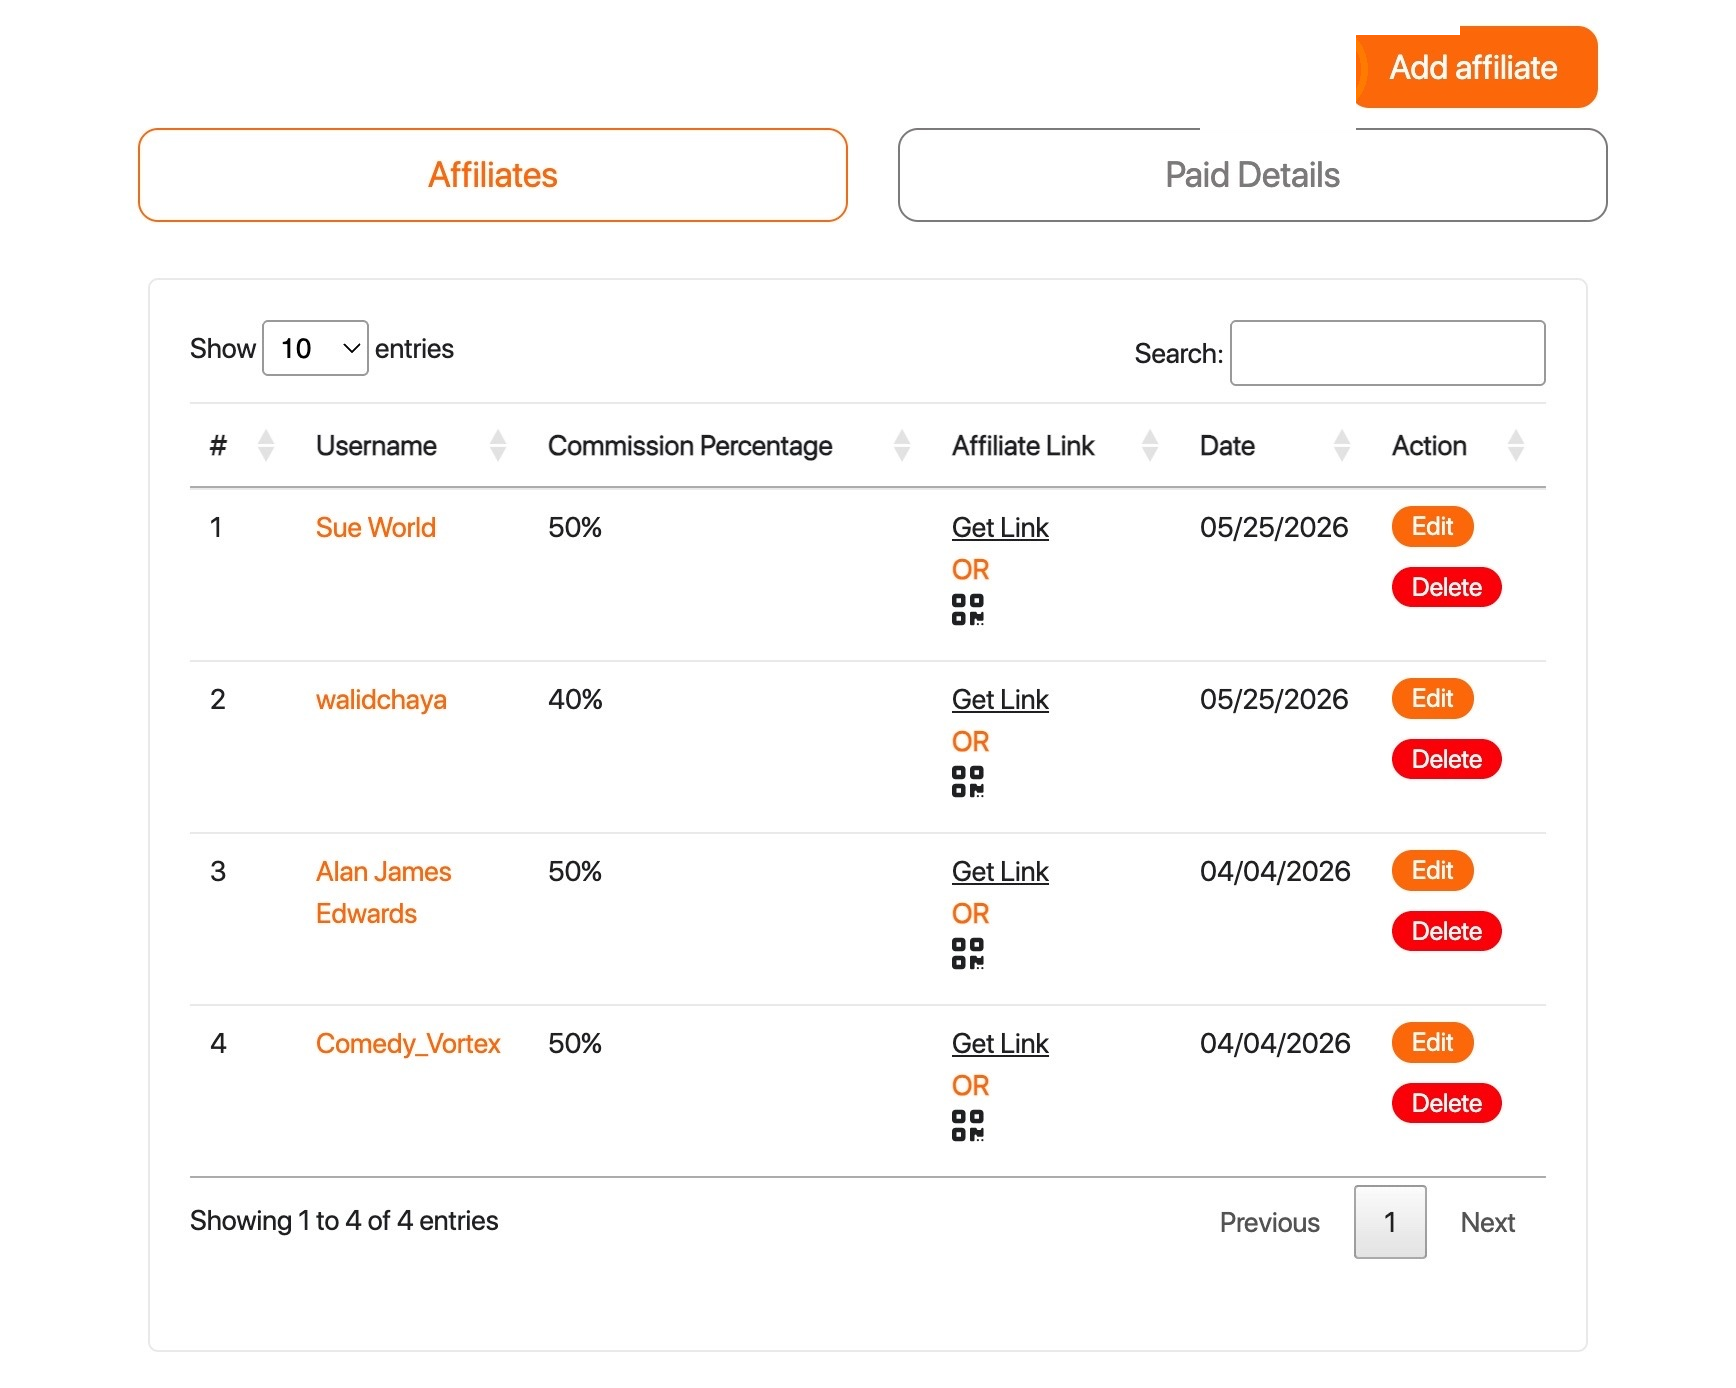
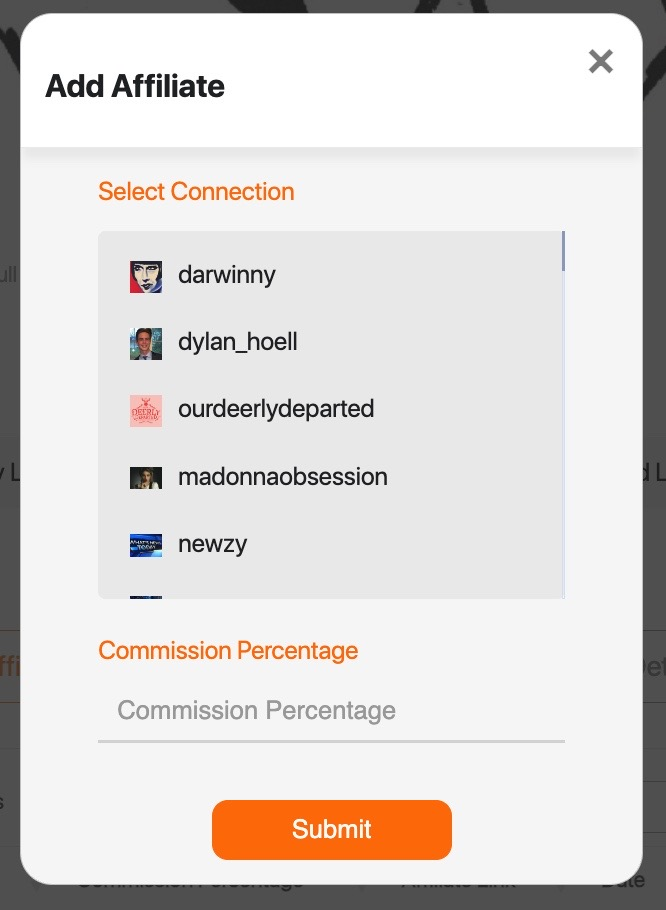
With the Clipkick Paywall, click Manage affiliates, then Add affiliate. Select the connected clipper, enter the agreed commission percentage, and click Submit. The clipper receives their unique affiliate link. When someone subscribes through that link, the clipper earns the agreed recurring percentage, minus Clipkick’s 15% platform fee and Stripe transaction fees.
You’re All Set
Time to Start Working With Clippers
You’ve got everything you need to get listed, get discovered, and work with clippers on the Clipping Exchange. Once you’re set up, the process repeats for every new clipper who connects with you: accept, chat, share, and get paid.