

Paywall Guide
Creating Your Paywall
A paywall lets you charge subscriptions or one-time fees for people to connect with you and access your media. Sell video tutorials, programs, podcasts, books, music, photos, or any digital file. Media can be set to view only or allow for download. Chat securely, as a community or one on one. Host live video events, including Zoom meetings. Here’s how to set yours up.
Set Up Your About Page
Start with your About Page, where you tell people who you are and what you sell.
Open Paywall
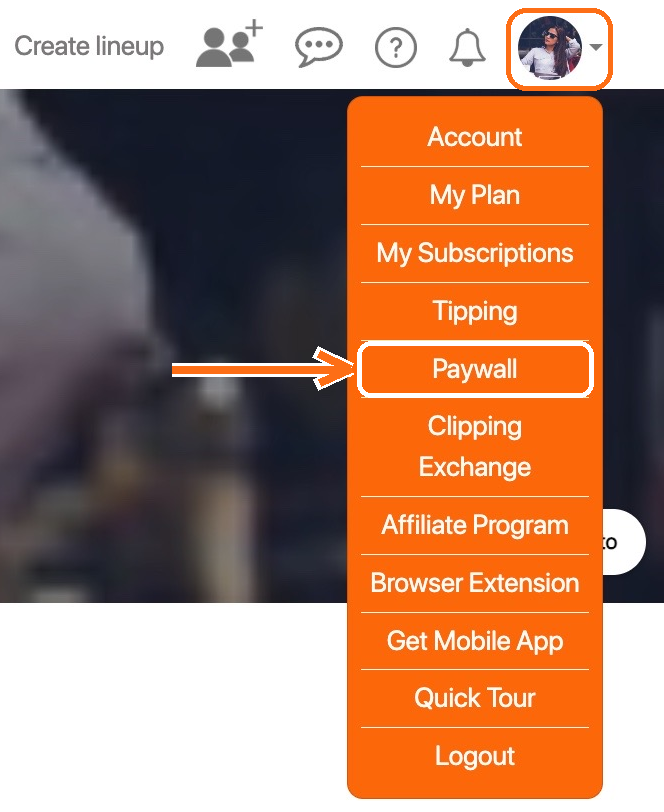
Log in on your computer. In the upper right corner of your My Clips page, open the drop-down menu and select Paywall.
Build Your About Page
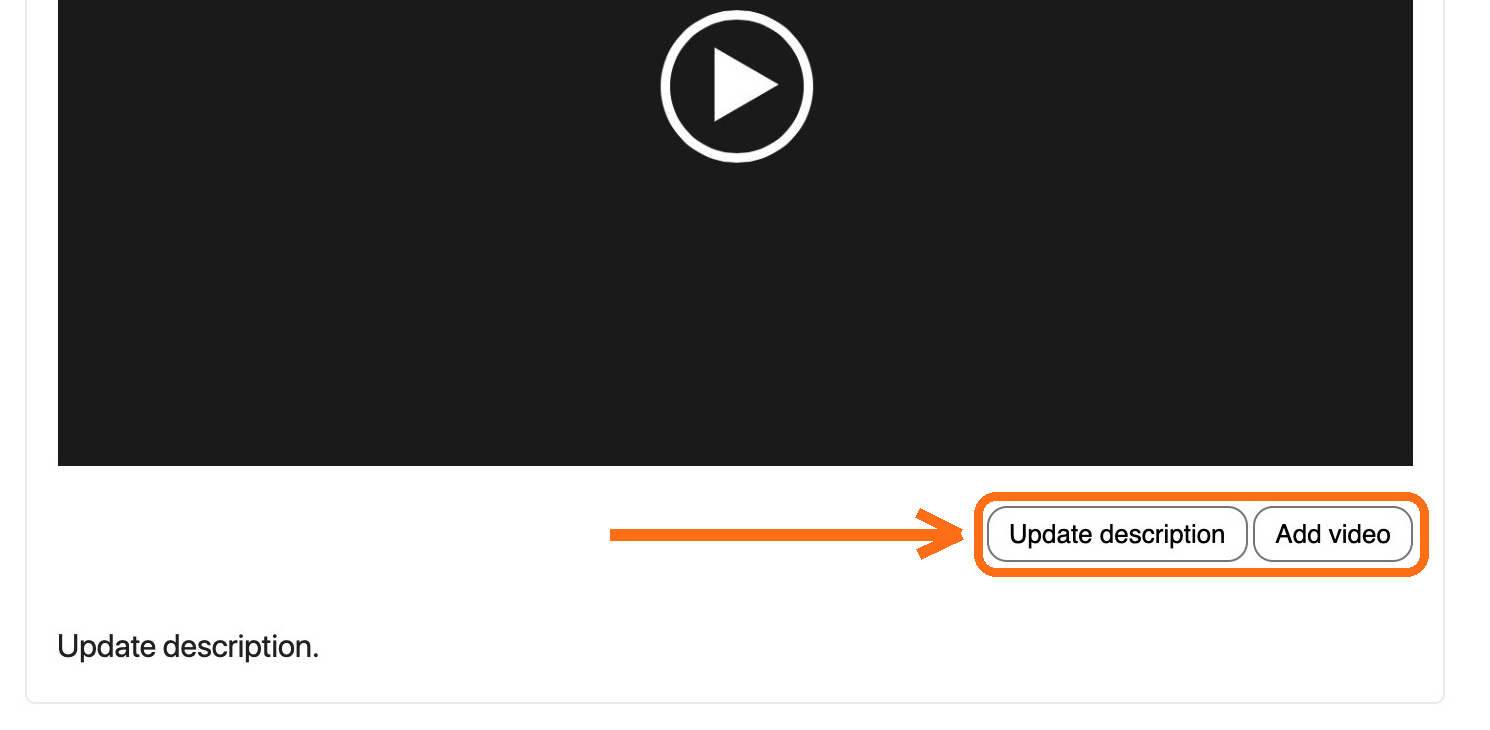
Add video: upload a video about you and your products, plus a cover image for the video. Update description: add a description of yourself and your digital products.
Build Your Lineups
Your content lives in Lineups. A Lineup is a media playlist, like a Thursday night lineup on television. Subscribers play through it in order, and it autoplays on any device.
Create a Lineup
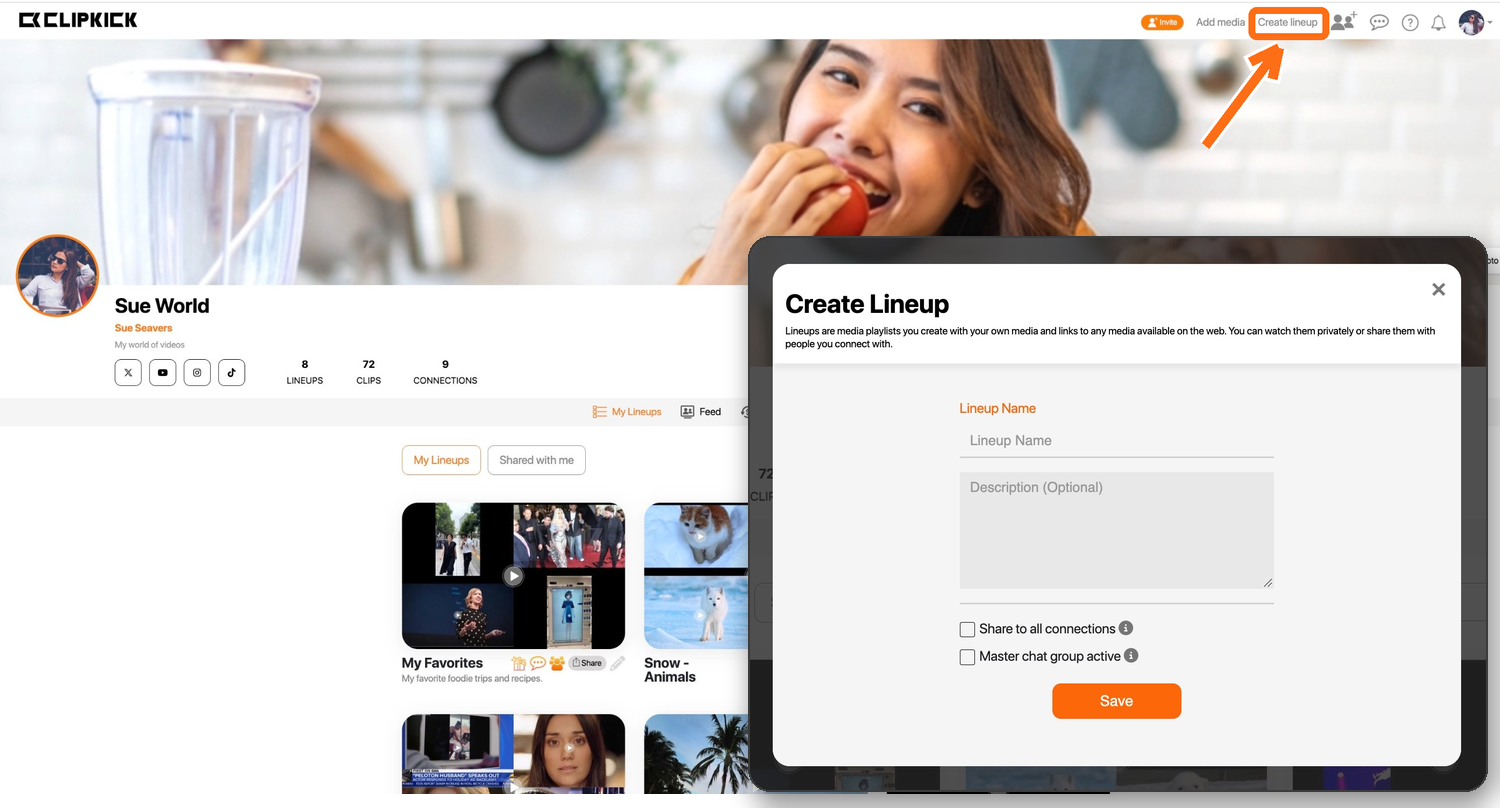
Click Create lineup and add a title and description. The description appears to the public on your paywall.
Add Your Media
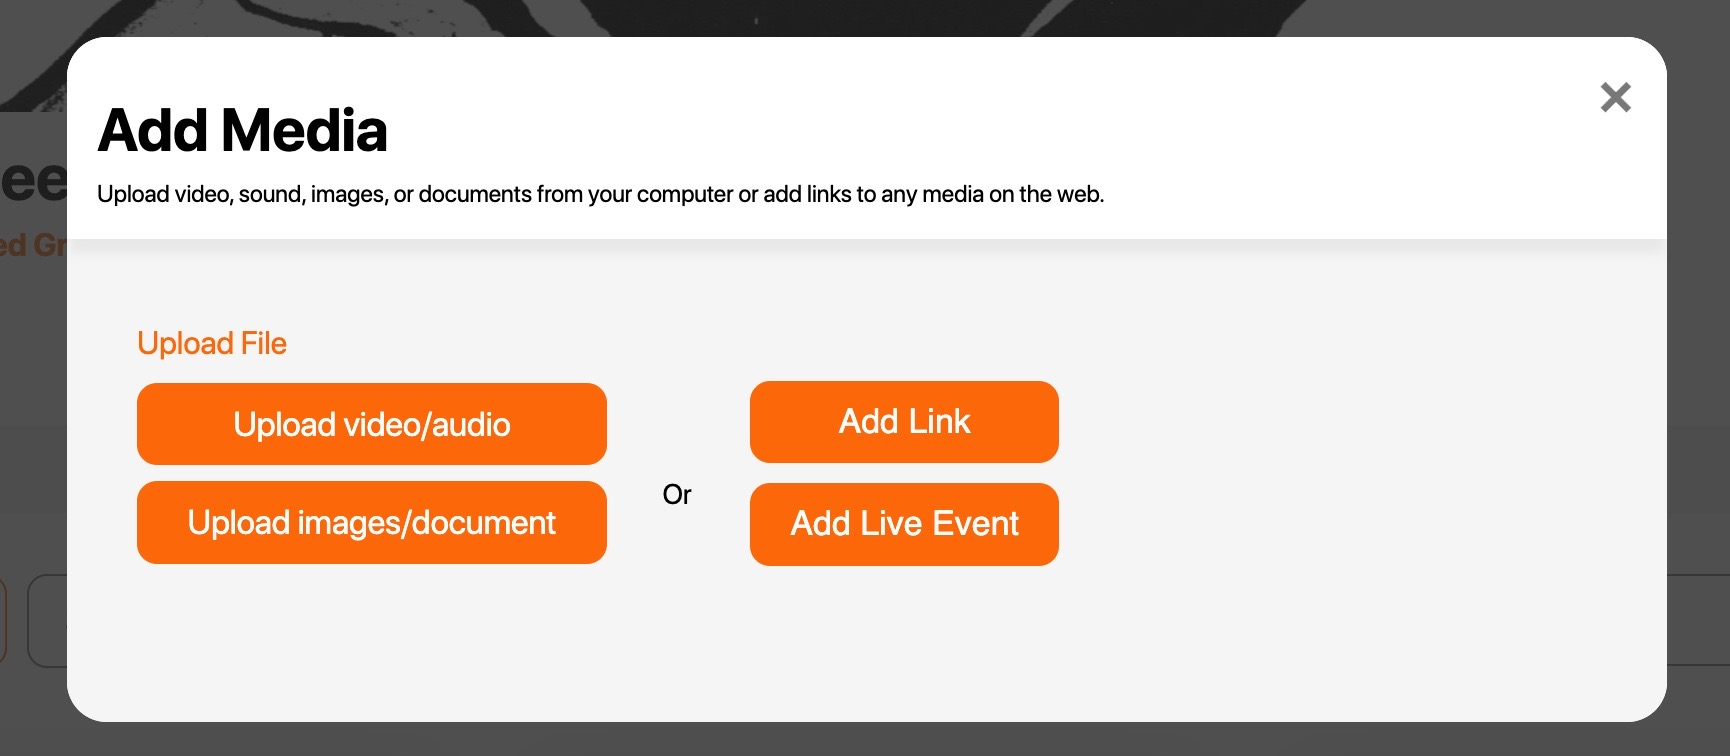
Click Add media, choose the type of media, and select the file from your computer. Save it to your new Lineup.
Build a Community
Check Master chat group active when you create a Lineup to let all subscribers chat as a community. You can charge a premium for access to you and your community.
Add Your Plans
A plan is what people subscribe to. Each plan includes the Lineups you choose. Start with the Plan Builder, or build a plan yourself.
Use the Plan Builder
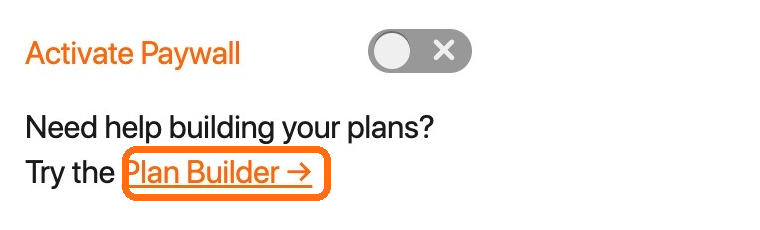
Need help building your plans? Use the Clipkick AI powered Plan Builder. Answer a few questions and connect your social links. The Plan Builder generates three custom paywall plans tailored to your content and audience.
You’ll find it at the top of your Paywall page. Edit and update the plans before you go live.
Or Add a Plan Yourself
Click Add plan and fill in:
- Title
- Amount
- Description
- Billing: Monthly or One-time
- The Lineups to include
Billing can’t be changed after you submit.

Set Download Access
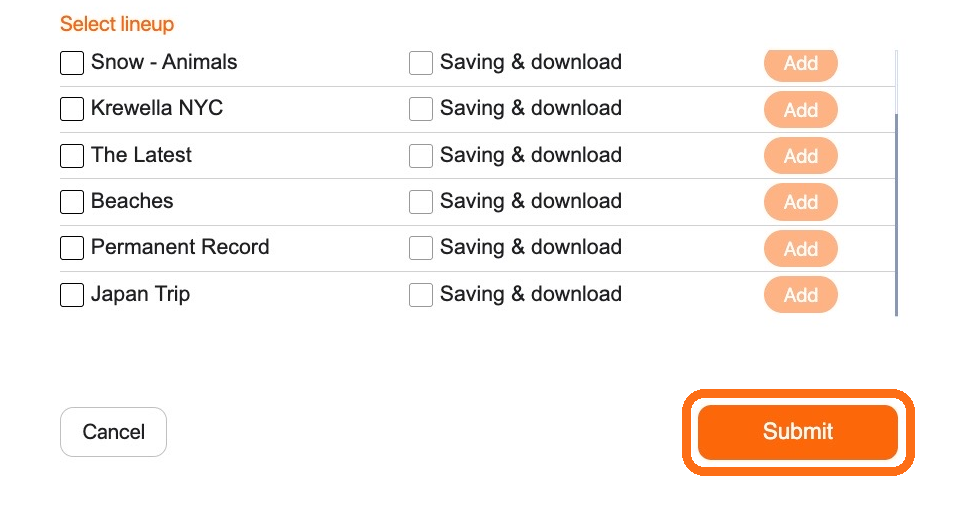
Next to each Lineup you add, check Saving & download if you want subscribers to download your original files. Leave it unchecked and subscribers can only view or stream your files in the app.
Submit and Connect With Stripe
Stripe is our payment partner. Every payment from your paywall goes through Stripe and is transferred directly to you. You connect it the first time you submit a plan.
Click Submit
When your plan is ready, click Submit.
Connect Stripe
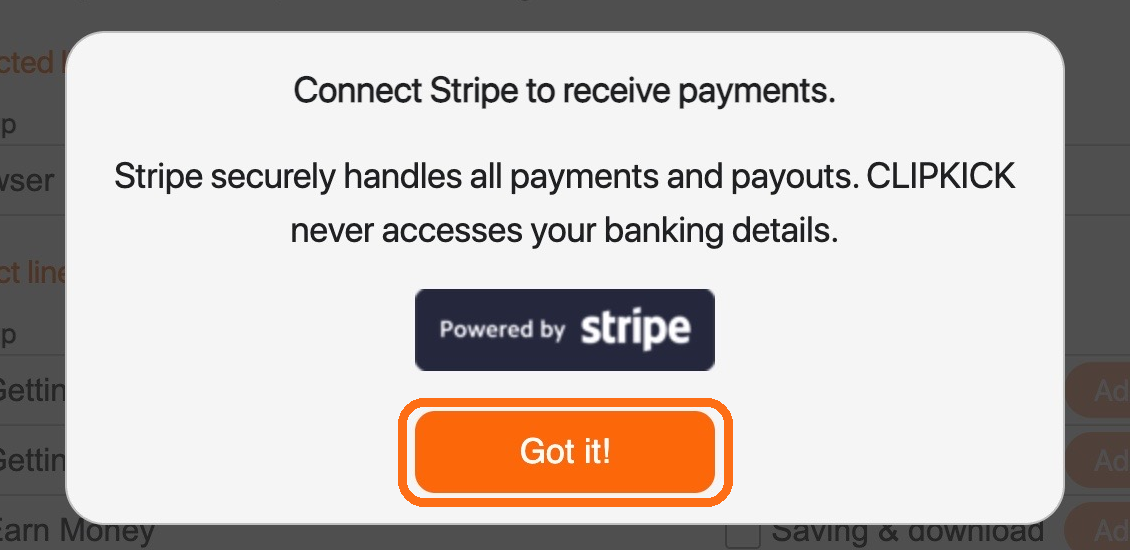
If you haven’t connected Stripe yet, Clipkick asks you to. Stripe securely handles all payments and payouts, and Clipkick never accesses your banking details. Click Got it!
Sign In to Stripe
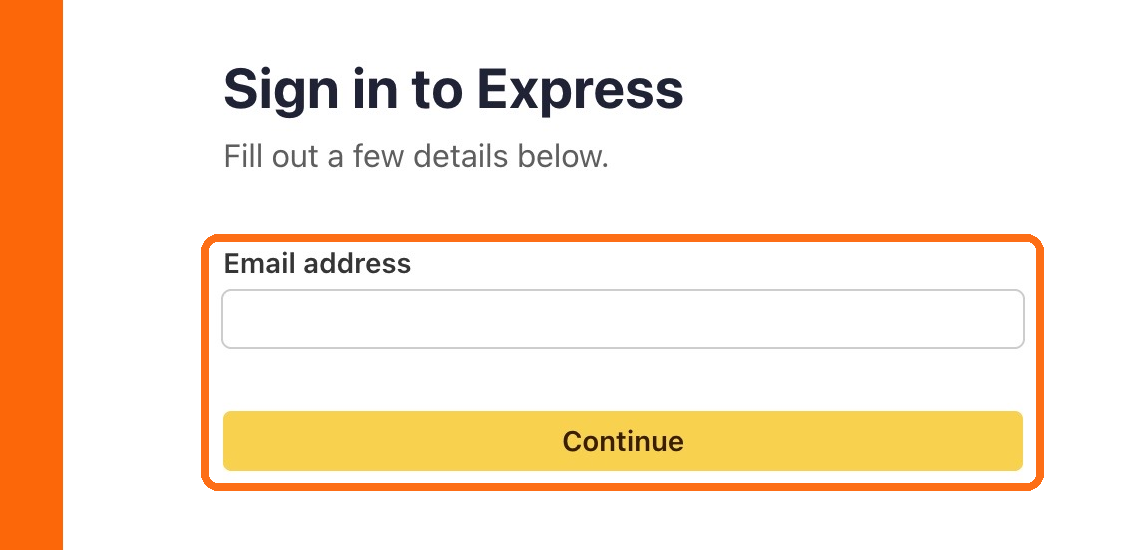
Select your country and click Submit. You’ll be taken to the Stripe website. Enter your email address and click Continue.
Go Live
After you submit, our trust and safety team reviews your paywall content to make sure it follows our community guidelines.
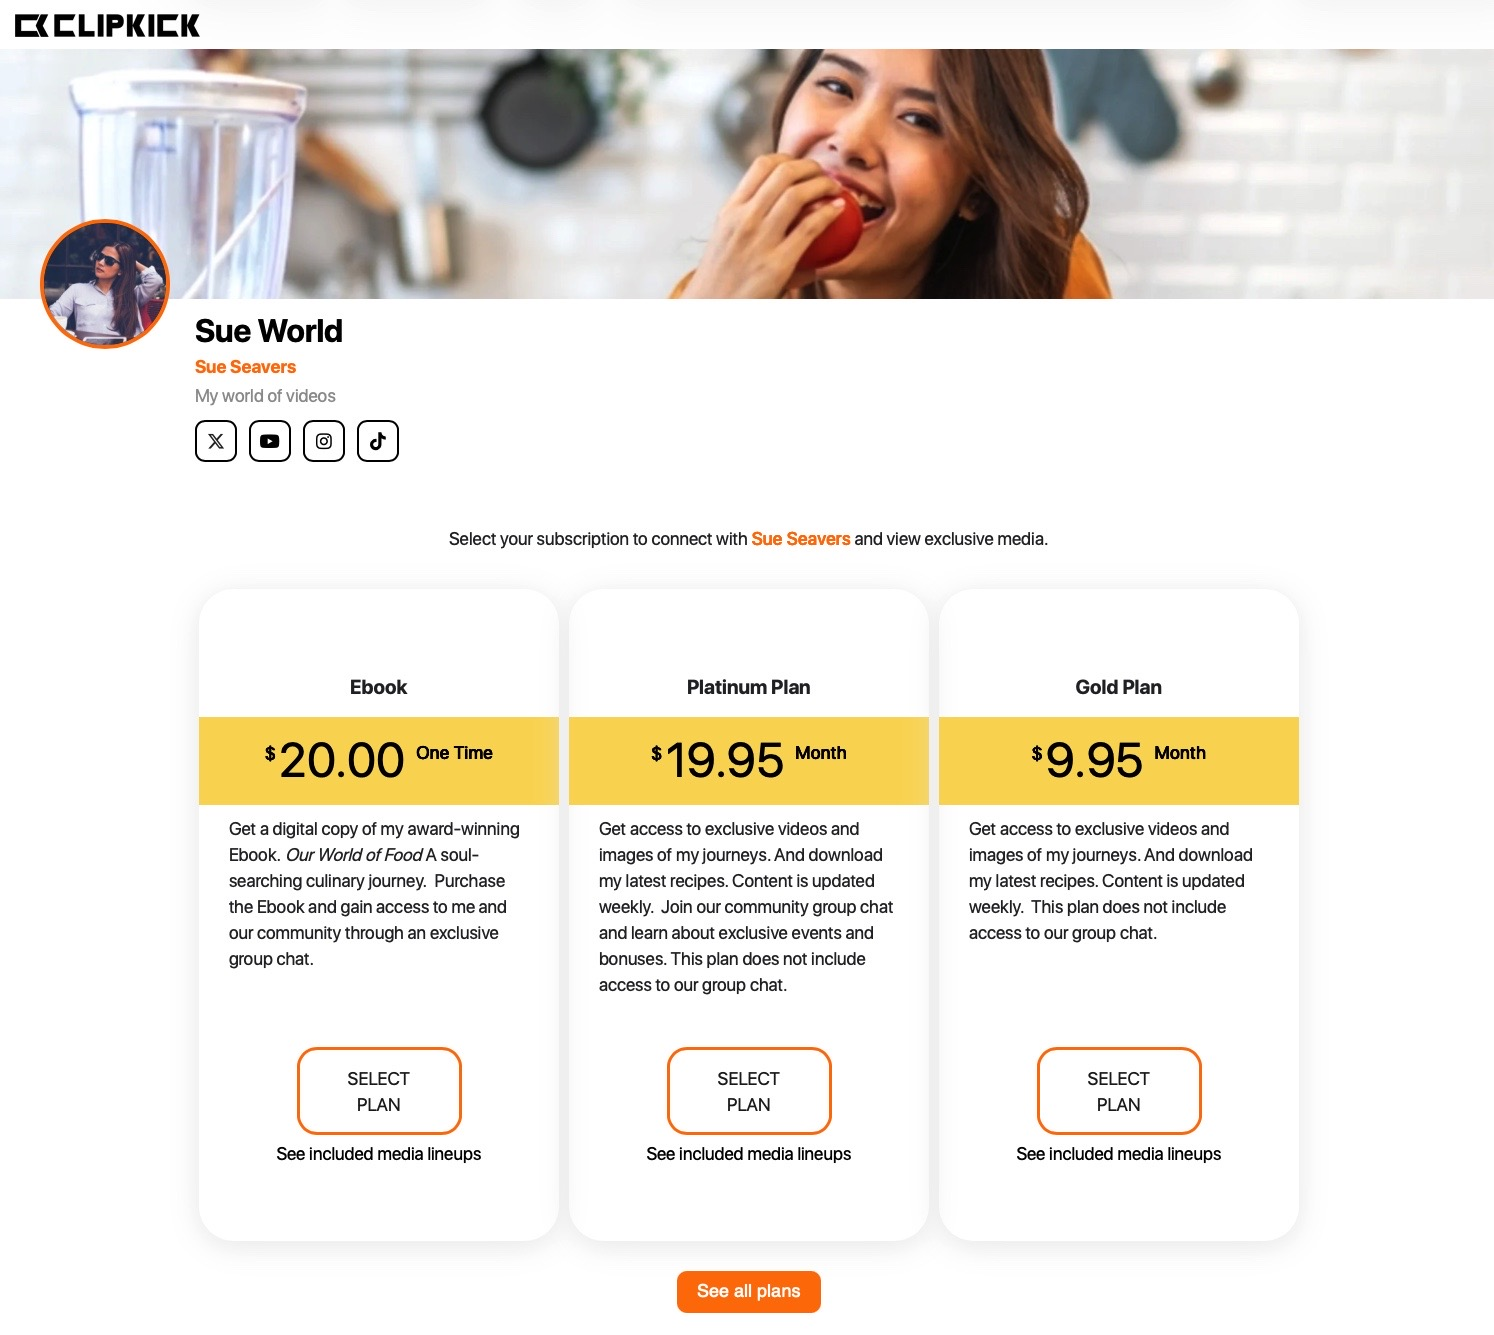
Once your paywall is approved, you’ll get a notification and your paywall becomes available to the public.
This is what visitors see when they open your paywall page.
Share and Manage Your Paywall
Once approved, your paywall lives at clipkick.com/yourusername. Add the link to your social profiles and share it anywhere to start getting subscribers.
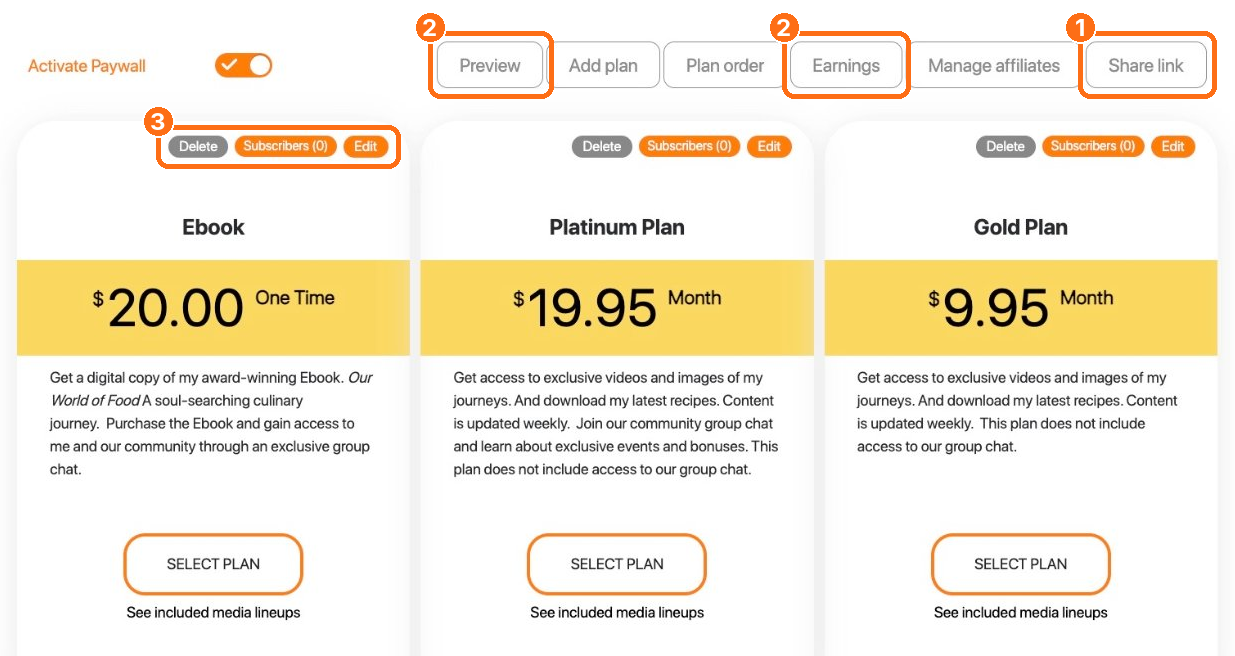
1 Share your link
Click the Share link button to generate a QR code for your link. It works well on digital or printed invitations.
2 Preview and earnings
Click Preview to see your paywall as visitors see it. Click Earnings to see what you’ve made.
3 Edit or delete a plan
Click Edit or Delete above a plan. If you delete a plan, all of its subscribers are cancelled. They keep access until their current billing cycle ends.
Add Affiliates
Affiliates share your content for you and earn a percentage of the subscriptions they bring in. Your clippers are your paywall affiliates.
How It Works
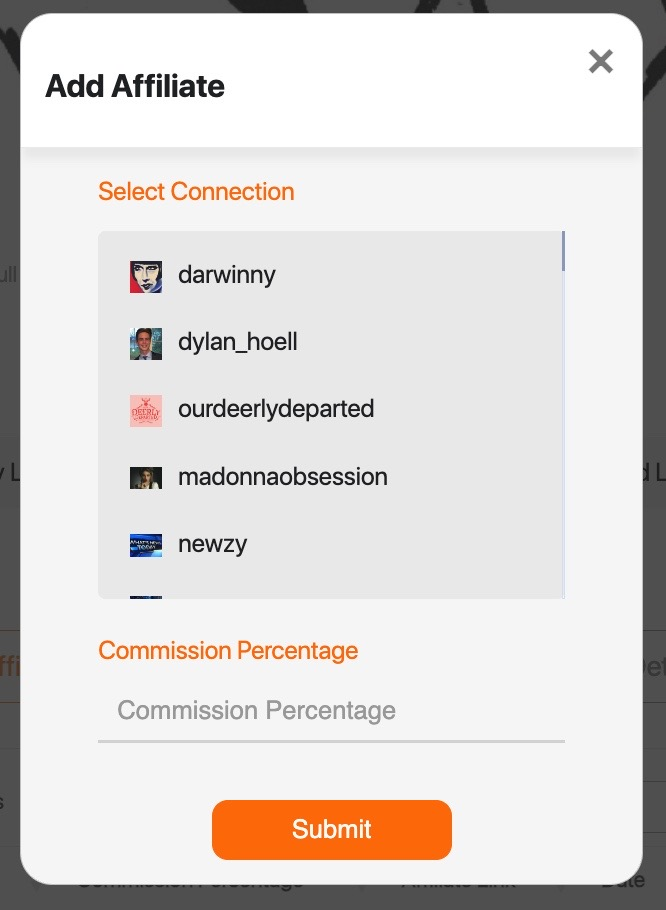
Click Manage affiliates, then Add affiliate. All your connections appear. Select one, enter the percentage you want to share, and click Submit.
If someone isn’t connected to you yet, invite them first. They’ll get an email and a notification with their affiliate link.
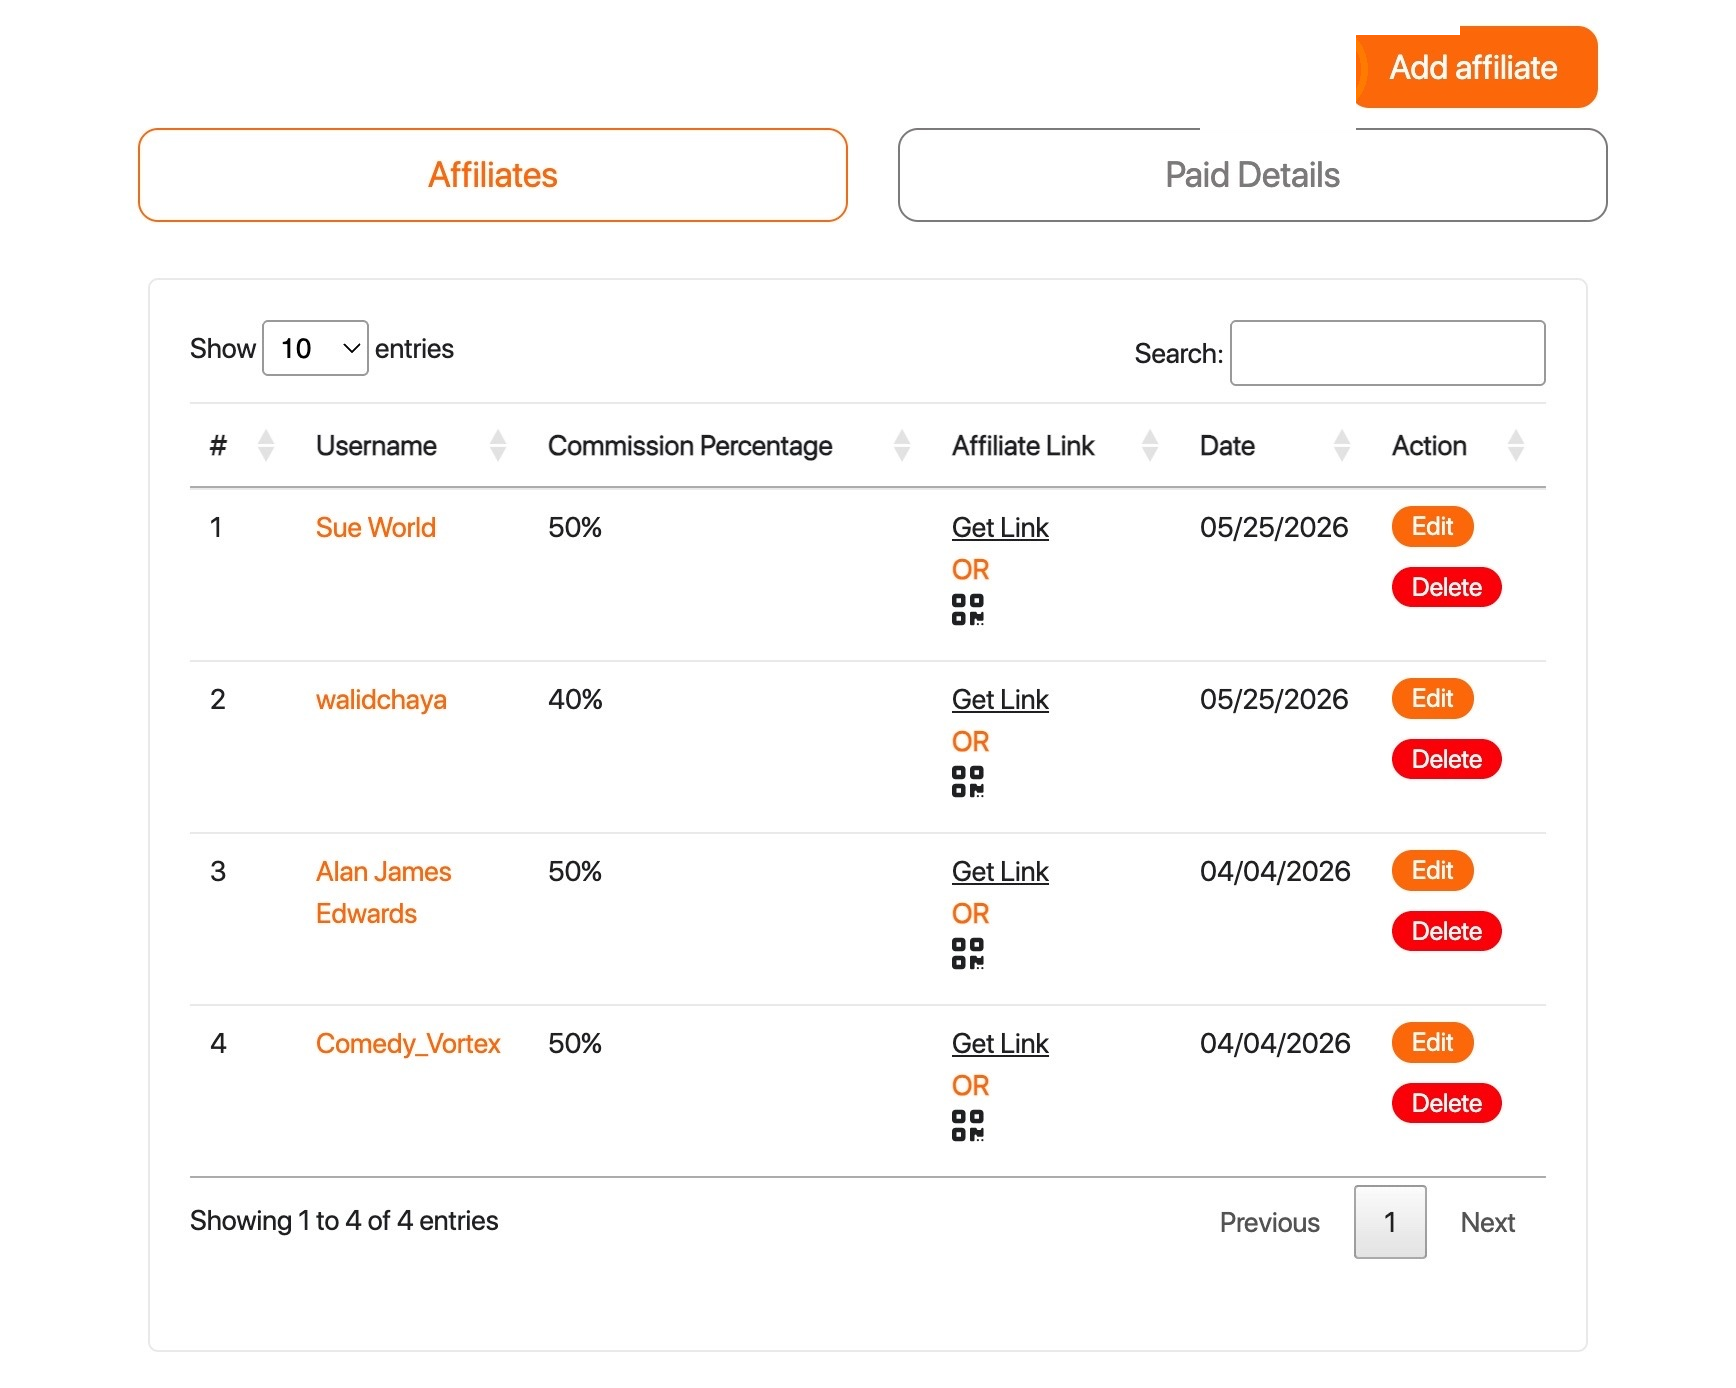
When someone clicks an affiliate’s link and subscribes to any of your plans, the affiliate earns the percentage you set, minus Clipkick and transaction fees. On a monthly plan, they earn every month. Affiliates earn a percentage of subscription fees, not tips. Share a Lineup with them using Allow saving and download so they have your content to work with.
You’re All Set
Time to Start Earning
Once your paywall is approved, it’s live at clipkick.com/yourusername. Share the link, add affiliates to extend your reach, and keep building your Lineups.